編輯:關於Android編程
因為AndroidUI線程不能進行耗時的操作,比如文件下載,網絡連接等。所以必須在新的線程中進行操作。往往獲取的數據又需要顯示到當前的Activity中,在其它的線程中是無法更新UI的,一般有兩種方法:1.Handler 2.AsyncTask
之前嘗試了Handler的方法,感覺易懂繁瑣。後來看到各種介紹AsyncTask的文章,於是參照google的API guides嘗試了下,感覺各種好。
現在來做一個使用AsyncTask來下載圖片,並且更新到當前UI的例子。
完成這項工作只需要兩步
1.寫一個類繼承AsyncTask
2.在OnClick裡面使用這個類
先看activity_main.xml文件吧。很簡單的布局,一個按鈕,一個ImageView框
<RelativeLayout xmlns:android="http://schemas.android.com/apk/res/android"
    xmlns:tools="http://schemas.android.com/tools"
    android:layout_width="match_parent"
    android:layout_height="match_parent"
    android:paddingBottom="@dimen/activity_vertical_margin"
    android:paddingLeft="@dimen/activity_horizontal_margin"
    android:paddingRight="@dimen/activity_horizontal_margin"
    android:paddingTop="@dimen/activity_vertical_margin"
    tools:context=".MainActivity" >
    <Button
        android:id="@+id/button"
        android:layout_width="match_parent"
        android:layout_height="wrap_content"
        android:text="@string/button_string"
        android:layout_below="@id/label"/>
    <ImageView
        android:id="@+id/image"
        android:layout_width="100dp"
        android:layout_height="100dp"
        android:layout_below="@id/button"/>
</RelativeLayout>
接下來看MainActivity.java這個文件
package com.kross.testasynctask;

import java.io.IOException;
import java.io.InputStream;
import java.net.HttpURLConnection;
import java.net.URL;

import android.app.Activity;
import android.graphics.Bitmap;
import android.graphics.BitmapFactory;
import android.os.AsyncTask;
import android.os.Bundle;
import android.view.Menu;
import android.view.View;
import android.view.View.OnClickListener;
import android.widget.Button;
import android.widget.ImageView;

public class MainActivity extends Activity {
   //聲明Button和ImageView
    private Button button = null;
    private ImageView imageView = null;

    @Override
    protected void onCreate(Bundle savedInstanceState) {
        super.onCreate(savedInstanceState);
        setContentView(R.layout.activity_main);

     //獲取到Button和ImageView
        button = (Button)findViewById(R.id.button);
        imageView = (ImageView)findViewById(R.id.image);

       //給按鈕設置監聽器
        button.setOnClickListener(new ButtonListener());
    }

    public boolean onCreateOptionsMenu(Menu menu) {
        getMenuInflater().inflate(R.menu.main, menu);
        return true;
    }

    class ButtonListener implements OnClickListener {

        @Override
        public void onClick(View v) {
       //當按下按鈕時,就開始執行這個AsyncTask
            new GetImageTask().execute("http://content.52pk.com/files/121122/1284656_175821_1_lit.jpg");
        }

    }

   //自己新建一個類,繼承AsyncTask這個類後面的<String, Void, Bitmap>指的是參數,進度,返回值。
   //參數:我們傳入一個圖片的網絡地址,所以應該是String
   //進度:沒搞明白,大致是指這個耗時操作的進度,你可以把進度更新到進度條上顯示
   //返回值:返回的是一個圖片,所以是Bitmap

    class GetImageTask extends AsyncTask<String, Void, Bitmap> {
     //覆寫的方法,這個方法將在這個類的對象execute()的時候調用
        protected Bitmap doInBackground(String... urls) {
            Bitmap bmp = null;
            try {
                bmp = this.loadImageFromNetwork(urls[0]);
            } catch (IOException e) {
                // TODO Auto-generated catch block
                e.printStackTrace();
            }
            return bmp;
        }

        @Override
     //覆寫的方法,當耗時的操作執行完之後執行,這裡就是把獲得的Bitmap更新到ImageView上
        protected void onPostExecute(Bitmap result) {
            // TODO Auto-generated method stub
            super.onPostExecute(result);
            imageView.setImageBitmap(result);

        }
     //就一個獲取圖片的方法
        private Bitmap loadImageFromNetwork(String imageUrl) throws IOException {
            URL url = new URL(imageUrl);
            HttpURLConnection con = (HttpURLConnection)url.openConnection();
            con.setDoInput(true);
            con.connect();
            InputStream inputStream = con.getInputStream();
            Bitmap bmp = BitmapFactory.decodeStream(inputStream);
            return bmp;
        }
    }
}
 Android基礎入門教程——8.3.1 三個繪圖工具類詳解
上兩小節我們學習了Drawable以及Bitmap,都是加載好圖片的,而本節我們要學習的繪圖相關的 一些API,他們分別是Canvas(畫布),Paint(
 談談Android6.0運行時的權限處理
運行時權限介紹Android 6.0在我們原有的AndroidManifest.xml聲明權限的基礎上,又新增了運行時權限動態檢測,以下權限都需要在運行時判斷:
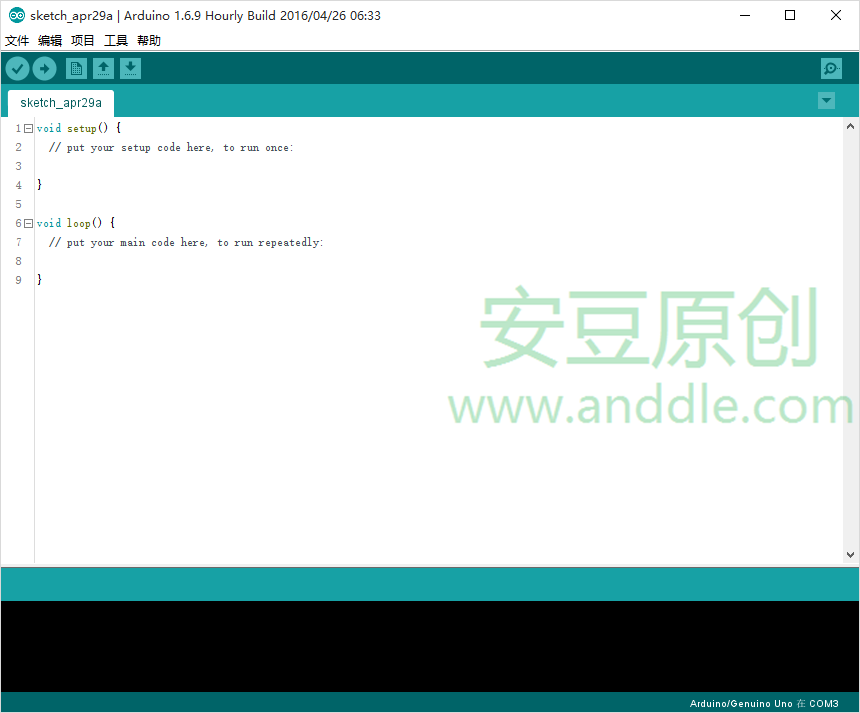 手把手教你做藍牙小車(一)
第1節 選擇Arduino開發板1.1 Arduino是什麼對Arduino,官方有一堆解釋。作為一個軟件程序猿,在我眼裡,Arduino是學習“可怕硬件&r
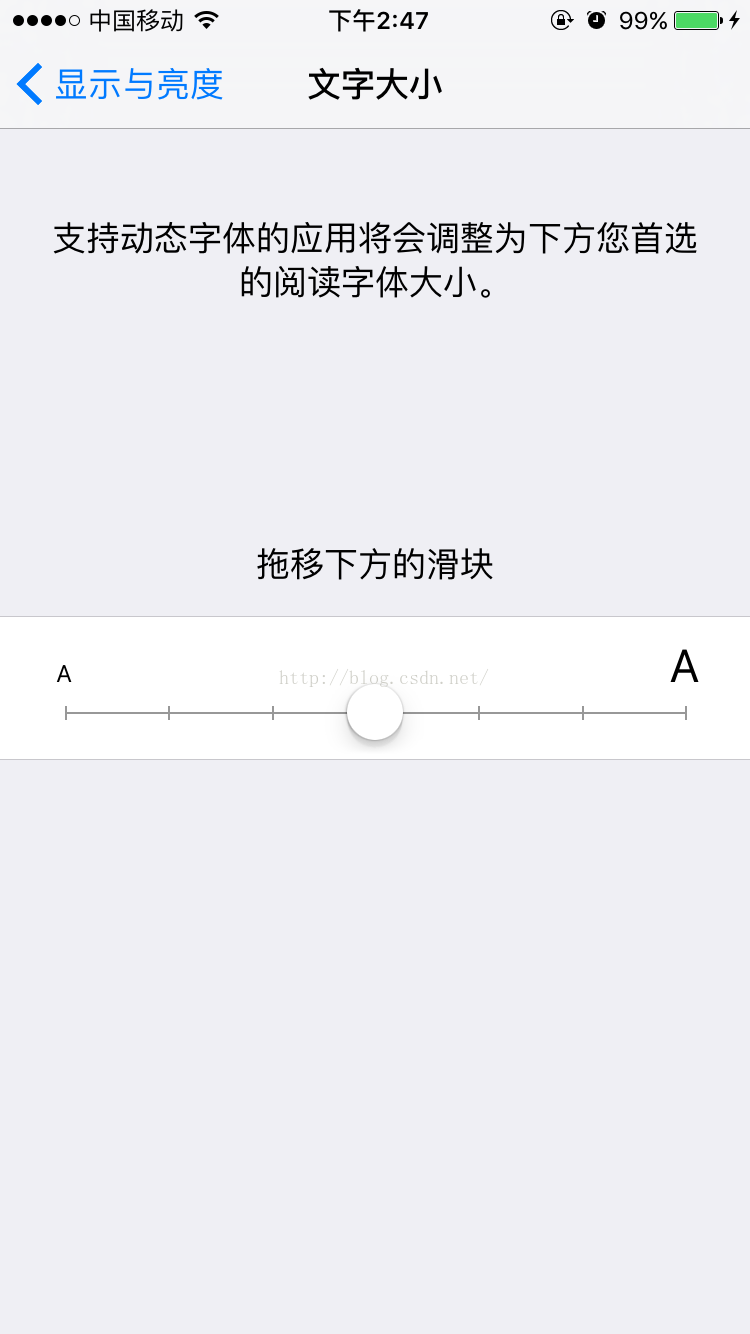
 AlertDialog創建6種對話框的用法
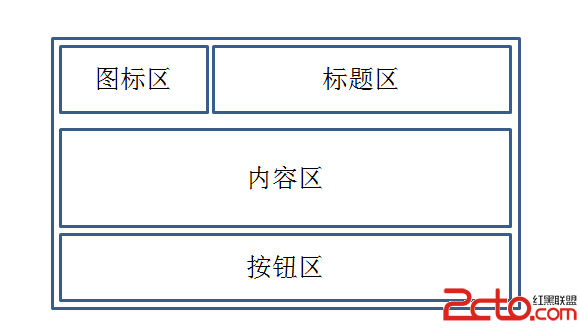
AlertDialog生成的對話框可分為4個區域:圖標區,標題區,內容區,按鈕區結構如圖:AlertDialog對話框的使用:1,創建AlertDialog.Builde