編輯:關於Android編程
參考鏈接:
Displaying Bitmaps Efficiently
Caching Bitmaps 翻譯
先吐槽一下:google 給示例中都有錯誤的地方,國內翻譯的也不去掉錯誤.太坑.
谷歌官方Download the sample
也可參照guolin的文章,
經過一番學習,初步實踐完成.貼出來,備用.
package com.akm.testlrucache;


import android.app.Activity;
import android.content.Context;
import android.content.res.Resources;
import android.graphics.Bitmap;
import android.graphics.BitmapFactory;
import android.os.AsyncTask;
import android.support.v4.util.LruCache;
import android.util.DisplayMetrics;
import android.view.Window;
import android.view.WindowManager;
import android.widget.ImageView;

public class BitmapCacheUtil {
	private Context context;
	private int screenWidth = 0;
	private int screenHeight = 0;
	private final int TITLE_HEIGHT = 48;
	private ImageView imageView;
	private int resid;
	private LruCache mMemoryCache;
	private BitmapWorkerTask  task ;
	public BitmapCacheUtil(Context context , ImageView imageView,int resid) {
		this.context = context;
		this.imageView = imageView;
		this.resid =resid;

		int maxMemory = (int) Runtime.getRuntime().maxMemory();
		int cacheSize = maxMemory / 8;
		mMemoryCache = new LruCache(cacheSize) {
			@Override
			protected int sizeOf(String key, Bitmap bitmap) {
				return bitmap.getByteCount();
			}
		};
		loadBitmap();

	}

	public void loadBitmap() {

		Bitmap bitmap = getBitmapFromMemoryCache(String.valueOf(resid));
		if (bitmap==null) {
			// mImageView.setImageResource(R.drawable.image_placeholder);
			task = new BitmapWorkerTask();
			task.execute(resid);
		}else{
			imageView.setImageBitmap(bitmap);
		}
	}

	private Bitmap getBitmapFromMemoryCache(String key) {
		return mMemoryCache.get(key);
	}

	private void addBitmapToMemoryCache(String key, Bitmap bitmap) {
		if (getBitmapFromMemoryCache(key) == null) {
			mMemoryCache.put(key, bitmap);
		}
	}

	protected void setImageView() {
		Bitmap bitmap = getBitmapFromMemoryCache(String.valueOf(resid));
		if (bitmap != null) {
			imageView.setImageBitmap(bitmap);
		} else {
			imageView.setImageResource(R.drawable.ic_launcher);
		}
	}

	class BitmapWorkerTask extends AsyncTask {

		@Override
		protected Bitmap doInBackground(Integer... params) {
			final Bitmap bitmap = decodeSampledBitmapFromResource(context.getResources(), params[0], getScreenWidth(context), getScreenHeight(context));
			addBitmapToMemoryCache(String.valueOf(params[0]), bitmap);
			return bitmap;
		}

		@Override
		protected void onPostExecute(Bitmap bitmap) {
			super.onPostExecute(bitmap);
			if (bitmap != null) {
				imageView.setImageBitmap(bitmap);
			}
		}

	}

	public Bitmap decodeSampledBitmapFromResource(Resources res, int resId,
			int reqWidth, int reqHeight) {

		// First decode with inJustDecodeBounds=true to check dimensions
		final BitmapFactory.Options options = new BitmapFactory.Options();
		options.inJustDecodeBounds = true;
		BitmapFactory.decodeResource(res, resId, options);

		// Calculate inSampleSize
		options.inSampleSize = calculateInSampleSize(options, reqWidth, reqHeight);

		// Decode bitmap with inSampleSize set
		options.inJustDecodeBounds = false;
		return BitmapFactory.decodeResource(res, resId, options);
	}
	public int calculateInSampleSize(
			BitmapFactory.Options options, int reqWidth, int reqHeight) {
		// Raw height and width of image
		final int height = options.outHeight;
		final int width = options.outWidth;
		int inSampleSize = 1;

		if (height > reqHeight || width > reqWidth) {
			if (width > height) {
				inSampleSize = Math.round((float)height / (float)reqHeight);
			} else {
				inSampleSize = Math.round((float)width / (float)reqWidth);
			}
		}
		return inSampleSize;
	}

	public void cancelTask() {
		if (task != null) {
			task.cancel(false);
		}
	}

	@SuppressWarnings("deprecation")
	public int getScreenWidth(Context context) {
		if (screenWidth != 0) {
			return screenWidth;
		}
		WindowManager wm = (WindowManager) context.getSystemService(Context.WINDOW_SERVICE);
		screenWidth = wm.getDefaultDisplay().getWidth();
		return screenWidth;
	}

	@SuppressWarnings("deprecation")
	public int getScreenHeight(Context context) {
		if (screenHeight != 0) {
			return screenHeight;
		}
		int top = 0;
		if (context instanceof Activity) {
			top = ((Activity) context).getWindow().findViewById(Window.ID_ANDROID_CONTENT).getTop();
			if (top == 0) {
				top = (int) (TITLE_HEIGHT * getScreenDensity(context));
			}
		}
		WindowManager wm = (WindowManager) context.getSystemService(Context.WINDOW_SERVICE);
		screenHeight = wm.getDefaultDisplay().getHeight() - top;
		return screenHeight;
	}
	public float getScreenDensity(Context context) {
		WindowManager wm = (WindowManager) context.getSystemService(Context.WINDOW_SERVICE);
		DisplayMetrics metric = new DisplayMetrics();
		wm.getDefaultDisplay().getMetrics(metric);
		return metric.density;
	}

	public float getScreenDensityDpi(Context context) {
		WindowManager wm = (WindowManager) context.getSystemService(Context.WINDOW_SERVICE);
		DisplayMetrics metric = new DisplayMetrics();
		wm.getDefaultDisplay().getMetrics(metric);
		return metric.densityDpi;
	}

}
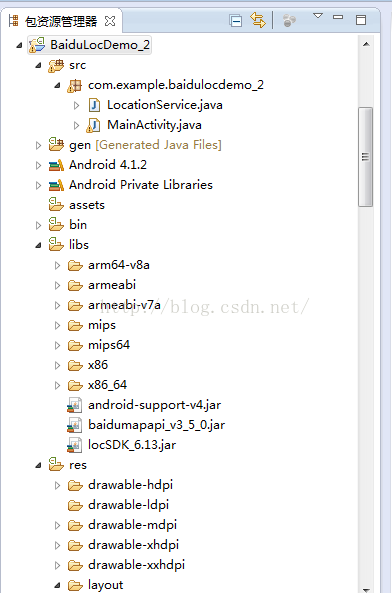 百度SDK定位
package com.example.baidulocdemo_2;import com.baidu.location.BDLocationListener;impor
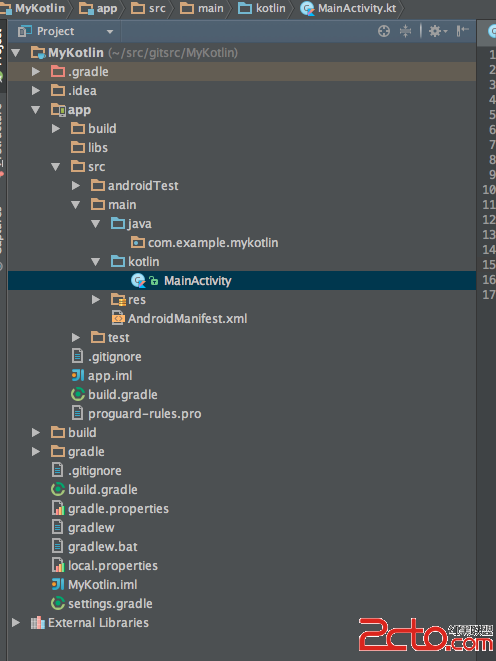 使用Kotlin開發Android應用
1、Kotlin介紹 [Kotlin](https://kotlinlang.org/) Kotlin是一門基於JVM的編程語言,它正成長為Android開發中用於替代J
 Android游戲開發實踐之人物移動地圖的平滑滾動處理
如圖所示為程序效果動畫圖地圖滾動的原理在本人之前博客的文章中介紹過人物在屏幕中的移動方式,因為之前拼的游戲地圖是完全填充整個手機屏幕的,所以無需處理地圖的平滑滾動。這篇文
 Android開發環境安裝和配置圖文教程
一、安裝JDK、SDK、NDK無論是用C#和VS2015開發Androd App還是用Java和Eclipse開發Androd App,都需要先安裝JDK和Android