編輯:關於Android編程
最近,需要給設備手動燒寫MAC地址。用戶插入U盤到盒子,系統自動讀取U盤裡面的文件,獲取到文件內容,即mac地址。再調用底層接口即可完成mac地址的燒寫。我所需要做的就是檢測U盤,讀取文件,根據接口返回值來判斷是否燒寫成功。
讀取文件,調用接口都很簡單,唯獨檢測U盤這個問題煩惱了許久。原來android系統會自動檢測,根據U盤的插入與拔出分別發出相對應的廣播。我只需要注冊一個廣播接受者,即可收到系統發出的廣播。
系統檢測U盤有三種狀態:
1. 檢測到U盤:android.intent.action.MEDIA_CHECKING
2. 連接U盤:android.intent.action.MEDIA_MOUNTED
3. 斷開連接:android.intent.action.MEDIA_UNMOUNTED
連接廣播:
public class BurnMACAddressBroadcast extends BroadcastReceiver{

	@Override
	public void onReceive(Context context, Intent intent) {
		File usbFile = new File("mnt/sda/sda1/kvUpdateMac/usbUpdateMac.txt");
		if(usbFile.exists()){
			Intent updateintent = new Intent(context,MACActivity.class);
			updateintent.addFlags(Intent.FLAG_ACTIVITY_NEW_TASK);
			context.startActivity(updateintent);
		}
	}
}
為了能在開機後的任何情況下都能夠接收到廣播,先到mainfest中注冊廣播:
之前沒有加這一句,接受者始終無法接收到系統發出的U盤檢測廣播。後來去找找原因,是因為系統廣播室隱式傳遞,於是增加了一個過濾條件。通過這個條件即scheme可以找到我的廣播接受者。這一句很重要。在處理廣播時,先判斷指定的文件是否存在,存在才跳轉到一個頁面進行mac地址燒寫。
MACActivity:
/**
	 * 獲取MAC地址
	 *
	 * @return
	 */
	@SuppressLint("NewApi")
	public String getEthMac() {
		String str1 = "";
		byte[] arrayOfByte = null;
		int i = 0;
		try {
			Iterator localIterator = Collections.list(
					NetworkInterface.getNetworkInterfaces()).iterator();
			while (true) {
				if (!localIterator.hasNext())
					return null;
				NetworkInterface localNetworkInterface = (NetworkInterface) localIterator
						.next();
				if (!localNetworkInterface.getDisplayName().equals("eth0"))
					continue;
				arrayOfByte = localNetworkInterface.getHardwareAddress();
				if (arrayOfByte == null)
					return null;
				if (i < arrayOfByte.length)
					break;
			}
		} catch (Exception e) {
			e.printStackTrace();
		}
		StringBuffer localStringBuilder = null;
		if (arrayOfByte != null) {
			localStringBuilder = new StringBuffer();
			for (int j = 0; j < arrayOfByte.length; j++) {
				String str = Integer.toHexString(arrayOfByte[j] & 0xFF);
				if (str.length() == 1) {
					localStringBuilder.append("0");
				}
				localStringBuilder.append(str);
				localStringBuilder.append(":");
			}

			str1 = localStringBuilder.deleteCharAt(
					localStringBuilder.length() - 1).toString();
		}
		return str1.toUpperCase();
	}
獲取利用android標准API獲取mac地址,注意加權限,
讀取文件內容:
/**
	 * 讀取文件內容
	 */
	private void readFileMac() {
		File usbFile = new File("mnt/sda/sda1/kvUpdateMac/usbUpdateMac.txt");
		if (!usbFile.exists()) {
			return;
		}
		FileInputStream inputStream = null;
		try {
			inputStream = new FileInputStream(usbFile);
			byte[] buffer = new byte[inputStream.available()];
			inputStream.read(buffer);
			String hhh = new String(buffer);
			String macthMac = "[0-9A-Fa-f]{12}";
			if (hhh.length() == 12 && hhh.matches(macthMac)) {
				mac = hhh;
			} else {
				mac = "";
			}
		} catch (FileNotFoundException e) {
			e.printStackTrace();
		} catch (IOException e) {
			e.printStackTrace();
		} finally {
			try {
				if (inputStream != null) {
					inputStream.close();
				}
			} catch (IOException e) {
				e.printStackTrace();
			}
		}
} Android通過RemoteViews實現跨進程更新UI示例
一、概述前面一篇文章Android通過AIDL實現跨進程更新UI我們學習了aidl跨進程更新ui,這種傳統方式實現跨進程更新UI是可行的,但有以下弊端: View中的方
 Android之短信驗證碼
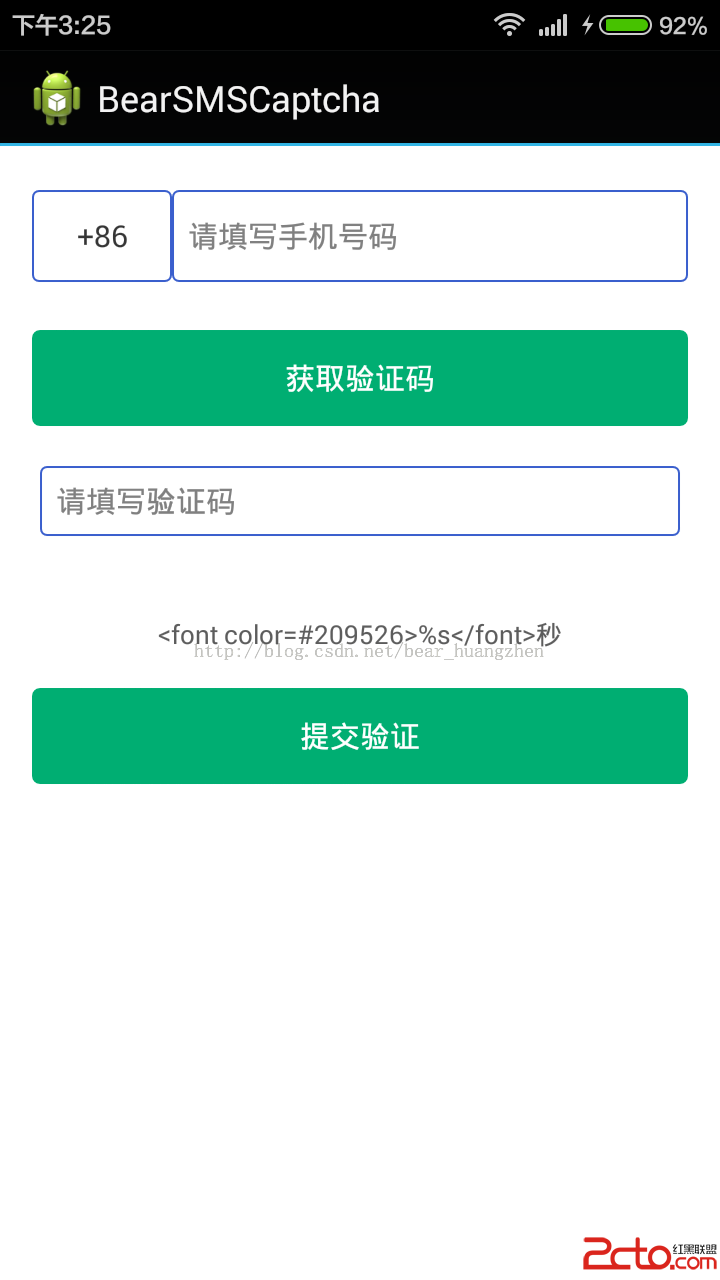
我們今天所使用的方案只是android手機設備集成短信驗證碼功能的方案之一。我們所采用的方案是使用聚合數據的短信驗證sdk。 程序的界面如下所示: 實
 我的Android進階之旅------)關於使用CSDN-markdown編輯器來編寫博客
關於使用MarkDown編輯器的原因 其實前段時間就支持使用MarkDown編輯器來寫博客了,只是由於當時接觸過MarkDown,所以之前的博客都是使用默認的HTML編輯
 簡單實現Android計算器功能
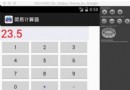
自己寫的安卓的計算器:注:這個是在mac中開發的,如果要在windows的eclipse中運行可能會出現路徑問題,解決辦法從windows中已有的安卓工程根目錄下復制一下