編輯:關於Android編程
在做一個小練習的時候,又遇到了Adapter,才發現以前沒有對它進行過記錄
現在介紹一下:
其實Adapter就是數據和視圖之間的橋梁,數據在adapter中做處理,然後顯示到ListView上面
Adapter有很多種,有ArrayAdapter<T>, BaseAdapter, CursorAdapter, HeaderViewListAdapter, ListAdapter,ResourceCursorAdapter, SimpleAdapter, SimpleCursorAdapter, SpinnerAdapter, WrapperListAdapter.
這裡就以ArrayAdapter<T>為例來介紹
我自己寫的一個例子:
有兩個類,一個是主界面Activity,用來處理輸入和顯示,效果圖在最下面,可以翻到最後看一下,布局如下:
<?xml version="1.0" encoding="utf-8"?>
<LinearLayout xmlns:android="http://schemas.android.com/apk/res/android"
    android:orientation="vertical"
    android:layout_width="fill_parent"
    android:layout_height="fill_parent"
    >
    <LinearLayout
        android:orientation="horizontal"
        android:layout_width="fill_parent"
        android:layout_height="wrap_content"
        >
        <TextView
            android:layout_width="wrap_content"
            android:layout_height="wrap_content"
            android:text="Name:"
            />
        <EditText android:id="@+id/name"
            android:layout_width="fill_parent"
            android:layout_height="wrap_content"
            />
    </LinearLayout>
    <LinearLayout
        android:orientation="horizontal"
        android:layout_width="fill_parent"
        android:layout_height="wrap_content"
        >
        <TextView
            android:layout_width="wrap_content"
            android:layout_height="wrap_content"
            android:text="Address:"
            />
        <EditText android:id="@+id/addr"
            android:layout_width="fill_parent"
            android:layout_height="wrap_content"
            />
    </LinearLayout>
    <Button android:id="@+id/save"
        android:layout_width="fill_parent"
        android:layout_height="wrap_content"
        android:text="Save"
    />
</LinearLayout>

<?xml version="1.0" encoding="utf-8"?>
<LinearLayout xmlns:android="http://schemas.android.com/apk/res/android"
 android:orientation="vertical"
 android:layout_width="fill_parent"
 android:layout_height="fill_parent"
 >
 <LinearLayout
  android:orientation="horizontal"
  android:layout_width="fill_parent"
  android:layout_height="wrap_content"
  >
  <TextView
   android:layout_width="wrap_content"
   android:layout_height="wrap_content"
   android:text="Name:"
   />
  <EditText android:id="@+id/name"
   android:layout_width="fill_parent"
   android:layout_height="wrap_content"
   />
 </LinearLayout>
 <LinearLayout
  android:orientation="horizontal"
  android:layout_width="fill_parent"
  android:layout_height="wrap_content"
  >
  <TextView
   android:layout_width="wrap_content"
   android:layout_height="wrap_content"
   android:text="Address:"
   />
  <EditText android:id="@+id/addr"
   android:layout_width="fill_parent"
   android:layout_height="wrap_content"
   />
 </LinearLayout>
 <Button android:id="@+id/save"
  android:layout_width="fill_parent"
  android:layout_height="wrap_content"
  android:text="Save"
 />
</LinearLayout>java代碼如下:
public class LunchList extends Activity {
    List<Restaurant> model=new ArrayList<Restaurant>();
    ArrayAdapter<Restaurant> adapter=null;

    @Override
    public void onCreate(Bundle savedInstanceState) {
        super.onCreate(savedInstanceState);
        setContentView(R.layout.main);

        Button save=(Button)findViewById(R.id.save);

        save.setOnClickListener(onSave);

        ListView list=(ListView)findViewById(R.id.restaurants);

        adapter=new ArrayAdapter<Restaurant>(this,android.R.layout.simple_list_item_1,model);//這行代碼在下面解釋
        list.setAdapter(adapter);//為ListView設置我們配置好的適配器
    }

    private View.OnClickListener onSave=new View.OnClickListener() {
        public void onClick(View v) {
            Restaurant r=new Restaurant();
            EditText name=(EditText)findViewById(R.id.name);
            EditText address=(EditText)findViewById(R.id.addr);

            r.setName(name.getText().toString());
            r.setAddress(address.getText().toString());

            RadioGroup types=(RadioGroup)findViewById(R.id.types);

            switch (types.getCheckedRadioButtonId()) {
                case R.id.sit_down:
                    r.setType("sit_down");
                    break;

                case R.id.take_out:
                    r.setType("take_out");
                    break;

                case R.id.delivery:
                    r.setType("delivery");
                    break;
            }

            adapter.add(r);//每個增加的條目都會添加到適配器裡面
        }
    };
}

public class LunchList extends Activity {
 List<Restaurant> model=new ArrayList<Restaurant>();
 ArrayAdapter<Restaurant> adapter=null;

 @Override
 public void onCreate(Bundle savedInstanceState) {
  super.onCreate(savedInstanceState);
  setContentView(R.layout.main);

  Button save=(Button)findViewById(R.id.save);

  save.setOnClickListener(onSave);

  ListView list=(ListView)findViewById(R.id.restaurants);

  adapter=new ArrayAdapter<Restaurant>(this,android.R.layout.simple_list_item_1,model);//這行代碼在下面解釋
  list.setAdapter(adapter);//為ListView設置我們配置好的適配器
 }

 private View.OnClickListener onSave=new View.OnClickListener() {
  public void onClick(View v) {
   Restaurant r=new Restaurant();
   EditText name=(EditText)findViewById(R.id.name);
   EditText address=(EditText)findViewById(R.id.addr);

   r.setName(name.getText().toString());
   r.setAddress(address.getText().toString());

   RadioGroup types=(RadioGroup)findViewById(R.id.types);

   switch (types.getCheckedRadioButtonId()) {
    case R.id.sit_down:
     r.setType("sit_down");
     break;

    case R.id.take_out:
     r.setType("take_out");
     break;

    case R.id.delivery:
     r.setType("delivery");
     break;
   }

   adapter.add(r);//每個增加的條目都會添加到適配器裡面
  }
 };
}
針對上面的進行解釋:
1. 適配器的作用是數據和視圖之間的橋梁
2. 這個小例子是要顯示一個數組,我們就用ArrayAdapter,數組適配器,數據的數據類型<>是Restaurant類型的(下面的定義),數據的數據類型還可以是其他的包括對象類型的
3. adapter=new ArrayAdapter<Restaurant>(this, android.R.layout.simple_list_item_1, model);
這段代碼是創建一個數組適配器的代碼,裡面有三個參數,第一個參數是上下文,就是當前的Activity, 第二個參數是android sdk中自己內置的一個布局,它裡面只有一個TextView,這個參數是表明我們數組中每一條數據的布局是這個view,就是將每一條數據都顯示在這個view上面;第三個參數就是我們要顯示的數據,這個數據是以List<Restaurant>的形式存在的,當然我們在設置的時候這個數組裡面還沒有數據,數據時候來調用adapter.add(r);加入進去的.
listView會根據這三個參數,遍歷adapterData裡面的每一條數據,讀出一條,顯示到第二個參數對應的布局中,這樣就形成了我們看到的listView.
 Day22-CheckBox
CheckBox (多選) extends ButtoncheckBox中選擇器 state_checked : 已經被選中了 state_checkable: 可以被選
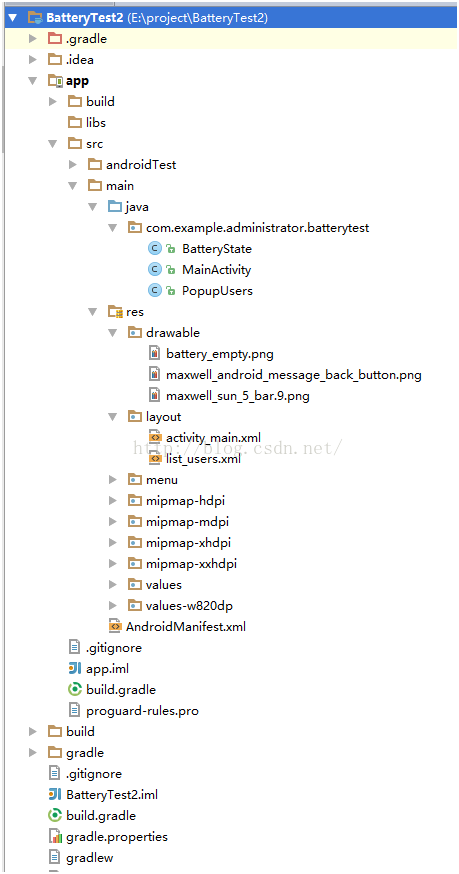 Android實現顯示電量的控件代碼
下面介紹了Android實現顯示電量的控件代碼,具體代碼如下:1、目錄結構,本人是使用安卓死丟丟。2、運行界面,輸入框中輸入數值,點擊刷新,會再電池中顯示出相應的電量3、
 開發隨筆:時間控件、數據庫、字符串及相關邏輯
開發隨筆,小結項目開發中的得與失,要點如下:進展-推薦功能及相關頁面:1.相關控件的使用:TimePicker、RadioGroup、RadioButton、Button
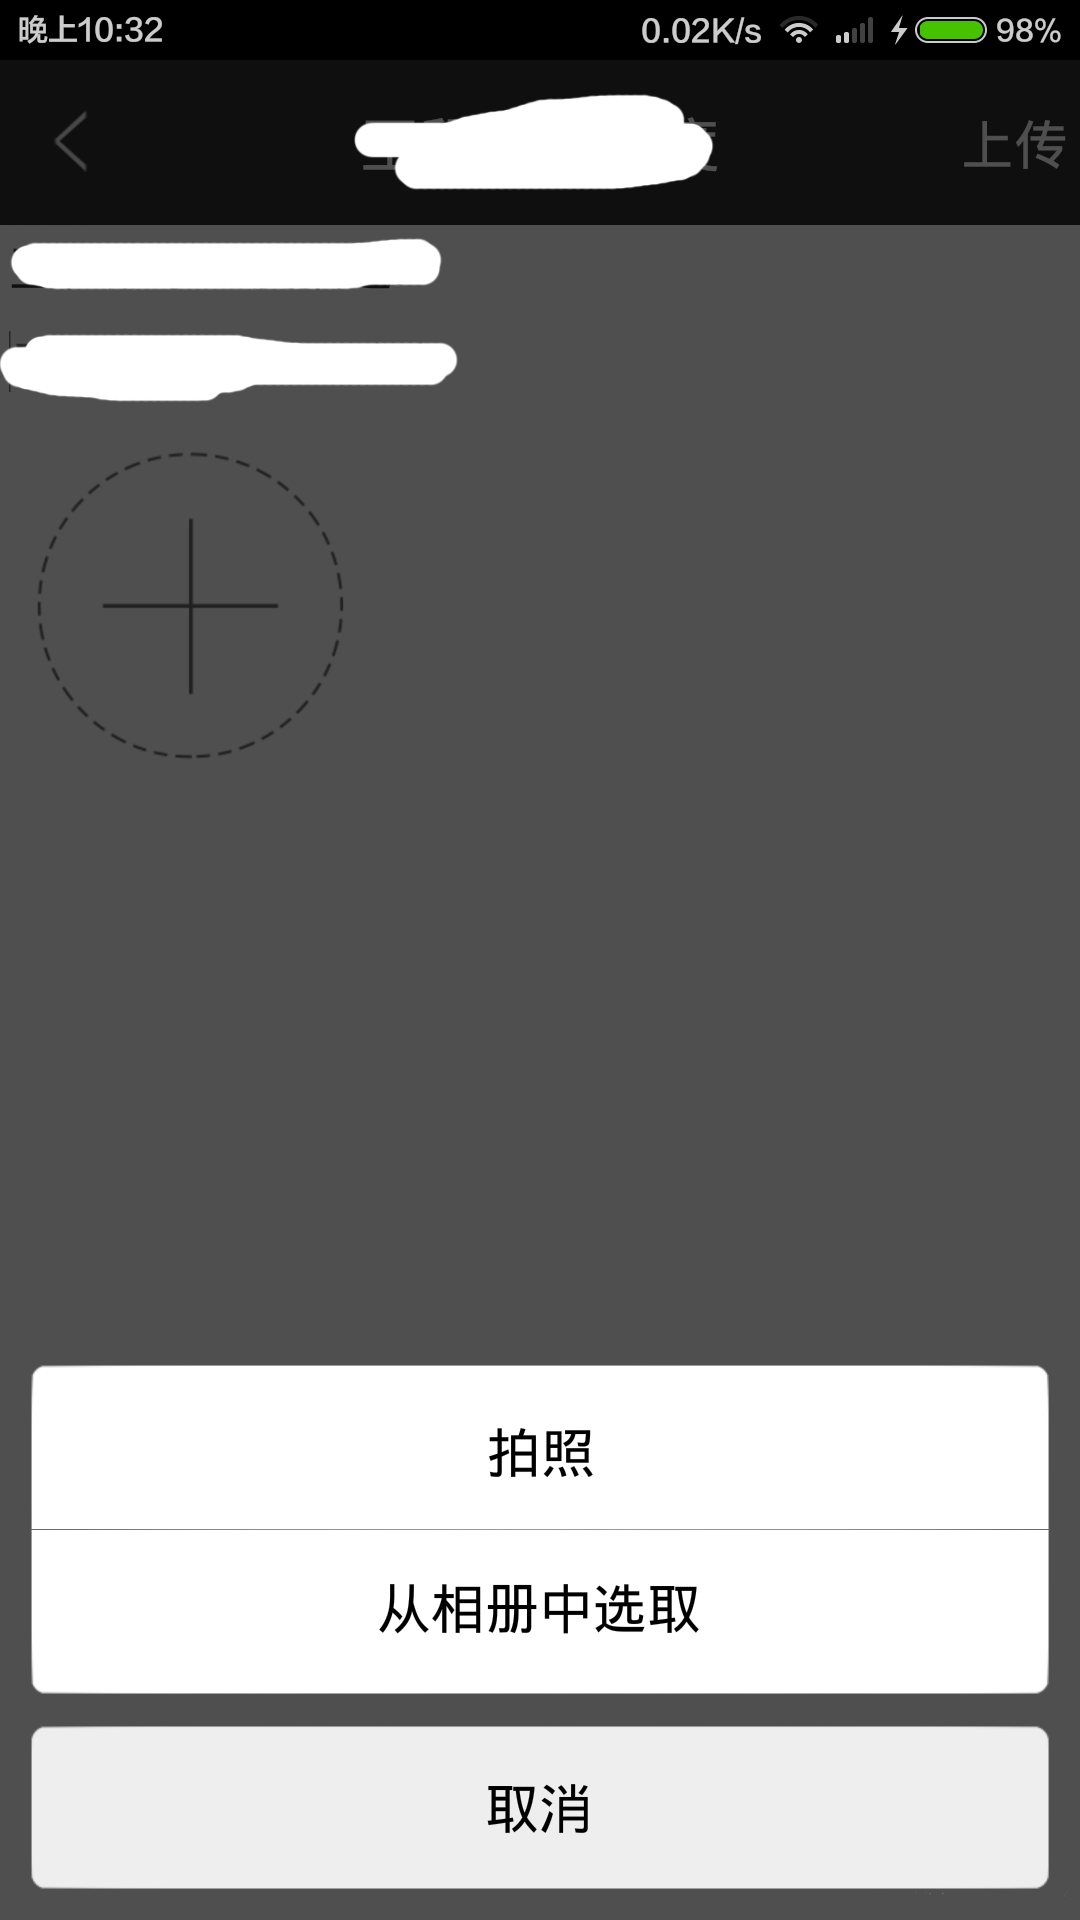
 Android 平板中 自定義鍵盤(popuwindow) 居於屏幕左下方 仿微信的密碼輸入界面
之前博客中,介紹過使用谷歌提供的鍵盤的一些api,可以很好地自定義鍵盤,這個有一個局限性,只能占滿屏幕,無法做到只能占一部分的需求鍵盤,如下圖我平板中的鍵盤需求:(由於公